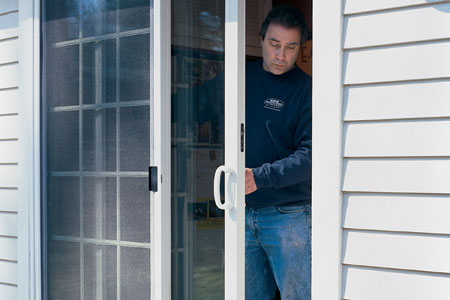
Sliding Door Tune-Up
You shouldn't have to muscle a sliding patio door to get it to glide along its track. A slider should move easily enough for you to open it with one hand while balancing a round of drinks in the other. If you have a balky patio door or sliding screen that moves only when you jiggle it along the track, it's easy to get things rolling again with a quick tune-up.
Dirty rollers are the main reason sliding doors get stuck. "Mud, food, and hair get ground onto the track," says Joe Giagnorio, who repairs about 80 sliders a year as service manager for Ring's End Lumber in Darien, Connecticut. "All that dirt clogs the rollers underneath the door." The remedy, which he demonstrates on the following pages, takes about an hour and works for wood, vinyl, and aluminum doors. Replacement parts—for anything from a faulty latch to torn weatherstripping—are available from retailers that sell new doors of the same make.
If you follow these steps and the door still doesn't slide, it may be a sign of a poor installation or an underlying structural problem, like an undersized header above the door or a rotten sill beneath it. Hire a remodeling contractor to diagnose the problem and make the necessary fixes. But if you get the old door sliding like new, it's simple to keep it that way: "Vacuum the track well whenever you clean the room," Giagnorio says.
1. Lower the Door
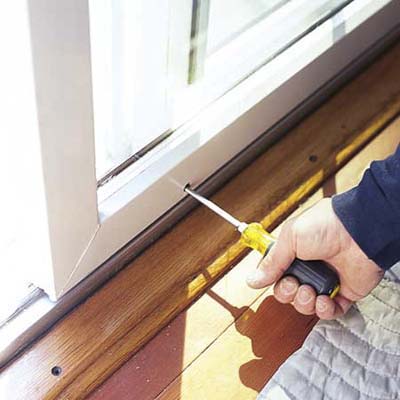
- Lay a drop cloth on the floor and pop off the two plugs covering the roller adjustment screws at the bottom of the sliding-door frame. (These are sometimes located in the edges of the door.)
- Insert a flathead screwdriver into each hole and turn the screw all the way counterclockwise. This retracts the rollers, lowering the door.
- Outside, set up a couple of sawhorses with pads.
- Take down any removable grilles, shades, or drapes.
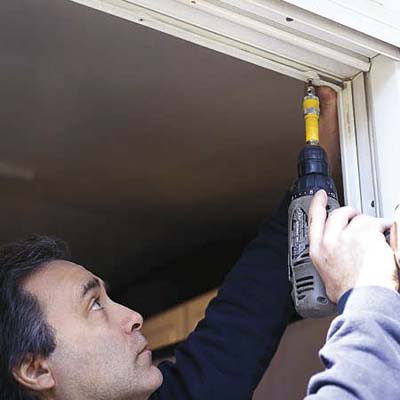
- Slide the door fully open and remove the head stop by backing out its screws.
CAUTION: Don't leave the door unattended; without a stop, it can fall.
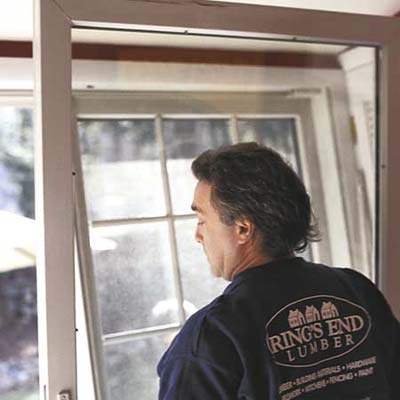
- While standing inside, lean the top of the sliding-door panel toward you and lift it off the bottom track.
- Set the panel on the sawhorses.
CAUTION: Sliding doors are heavy. Make sure to bend your knees to take the weight off your back, or recruit a helper.
4. Check Roller Assemblies
- Use a flathead screwdriver to gently pry each roller from its pocket in the bottom of the door. (Rollers are typically held in by friction and the weight of the door.)
- If they are bent or broken, replace them with new roller assemblies.
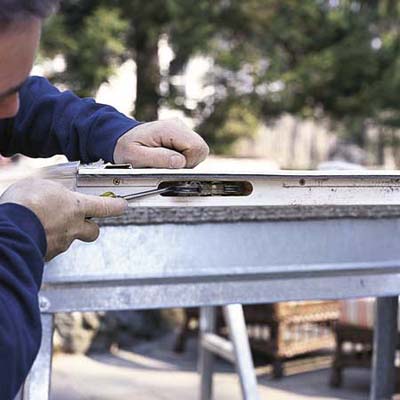
- Scrape any dirt from the wheels, then clean them with denatured alcohol and a rag.
- Lubricate only with silicone spray, which doesn't hold dirt.
- To reinstall, align each roller's adjustment screw with its access hole and tap in the assemblies with a hammer, using a wood block to protect the wheels. Once they're seated, retract the rollers as far as possible.
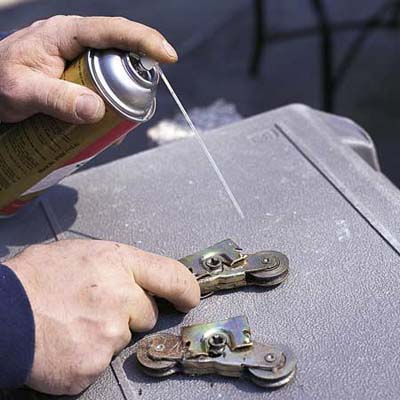
- Wipe the head track and the outside face of the removed head stop with alcohol and spray with silicone.
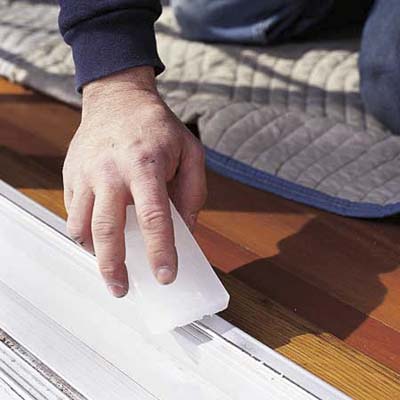
- Vacuum loose debris from the bottom track, then clean thoroughly with alcohol. The bottom track needs a more substantial lubricant than silicone; rub it a few times with a block of paraffin wax.
- To replace torn or cracked weatherstripping where the sliding and fixed panels overlap, loosen its staples with a flathead screwdriver, then grab one end and pull it and the staples off the door, prying gently with a putty knife.
- Remove any remaining staples with pliers; sink the broken ones with a hammer.
- The strip on the jamb side is generally glued. If it's damaged, pull it off and scrape the adhesive residue with the putty knife, taking care not to mar the finish.
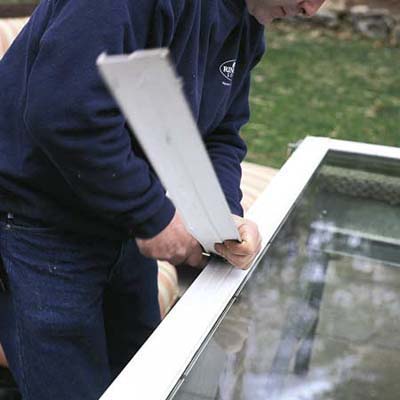
- Where the sliding panel's frame overlaps the fixed panel, orient the new weatherstripping with its flap facing as indicated on the instructions. Align the top end with the shadow line of the head stop, and secure the flange tightly along the door's edge.
- Drill a 1/8-inch-diameter pilot hole at each of the holes in the flange and drive the screws provided.
- Do the same on the fixed panel so the two strips interlock.
- Glue the jamb-side strip in place with a plastic adhesive. Clean up smudges and fingerprints with alcohol.
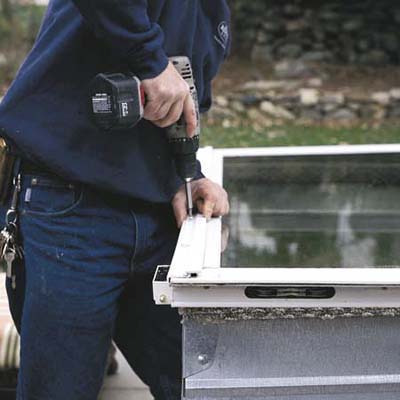
- Set the door back on the bottom track and tilt it up. Brace the door with your body and reattach the head stop. (Don't leave the door unattended until stop is installed.)
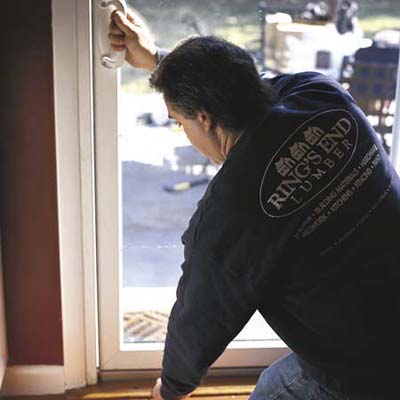
- Roll the door to within a half-inch of the latch-side jamb, then turn the roller adjustment screws until the door is parallel to the jamb.
- • If the latch does not mate with its receiver on the jamb, adjust the receiver by loosening its screws and moving the plate up or down.
10. Install a Hands-Free Lock (Optional)
- Close and latch the door, then temporarily mount the lock against its lower edge.
- Now lower the locking bolt and mark its location on the rail in pencil.
- Remove the lock and drill a hole (sized as specified) through the track, and pop in the rubber grommet provided.
- Remount the lock and test it. Stepping on the top engages the bolt; pressing on the side releases it.

Sliding Door Tune-Up

No comments:
Post a Comment
Hi, please feel free to share your comment here.
For example: Which pictures is the best?
Thanks,
Admin